Creating What Grit Sandpaper Looks Like 1/64 Scale Asphalt Authenticity
Whether you’re building a model of a city, a race track, or simply a small street corner, recreating the surfaces that make up the scene—such as asphalt—is essential for realism. In model-making, especially at smaller scales, achieving a convincing asphalt texture requires a precise approach, with each element scaled down accurately to maintain the integrity of the scene. One of the tools that can be incredibly useful in simulating asphalt is sandpaper, particularly when selecting the right grit for the job.
In this article, we’ll explore the process of using what grit sandpaper looks like 1/64 scale asphalt, from understanding sandpaper grits to applying them effectively on a miniature road. By understanding how the grit correlates with asphalt’s roughness and appearance, you’ll be equipped to create roads that look realistic and true to life at the smallest of scales.
The Role of What Grit sandpaper looks like 1/64 scale asphalt
One of the most important aspects of crafting a miniature scene is ensuring the textures of the materials used accurately reflect real-world surfaces. Asphalt, as a road material, is notorious for its textured appearance. Depending on its age, usage, and maintenance, asphalt can appear smooth, rough, cracked, or even gravelly. Creating these varying textures at a miniature scale is no small task.
To capture the essence of a real road in model-making, textures must be adjusted to reflect the scale. In the case of 1/64 scale models (common in diecast cars and dioramas), this means achieving the right balance between too rough and too smooth. The texture should look like real asphalt but be scaled down in a way that still appears convincing to the viewer. Here is where sandpaper grits come into play—offering a range of textures that mimic different types of asphalt surfaces.
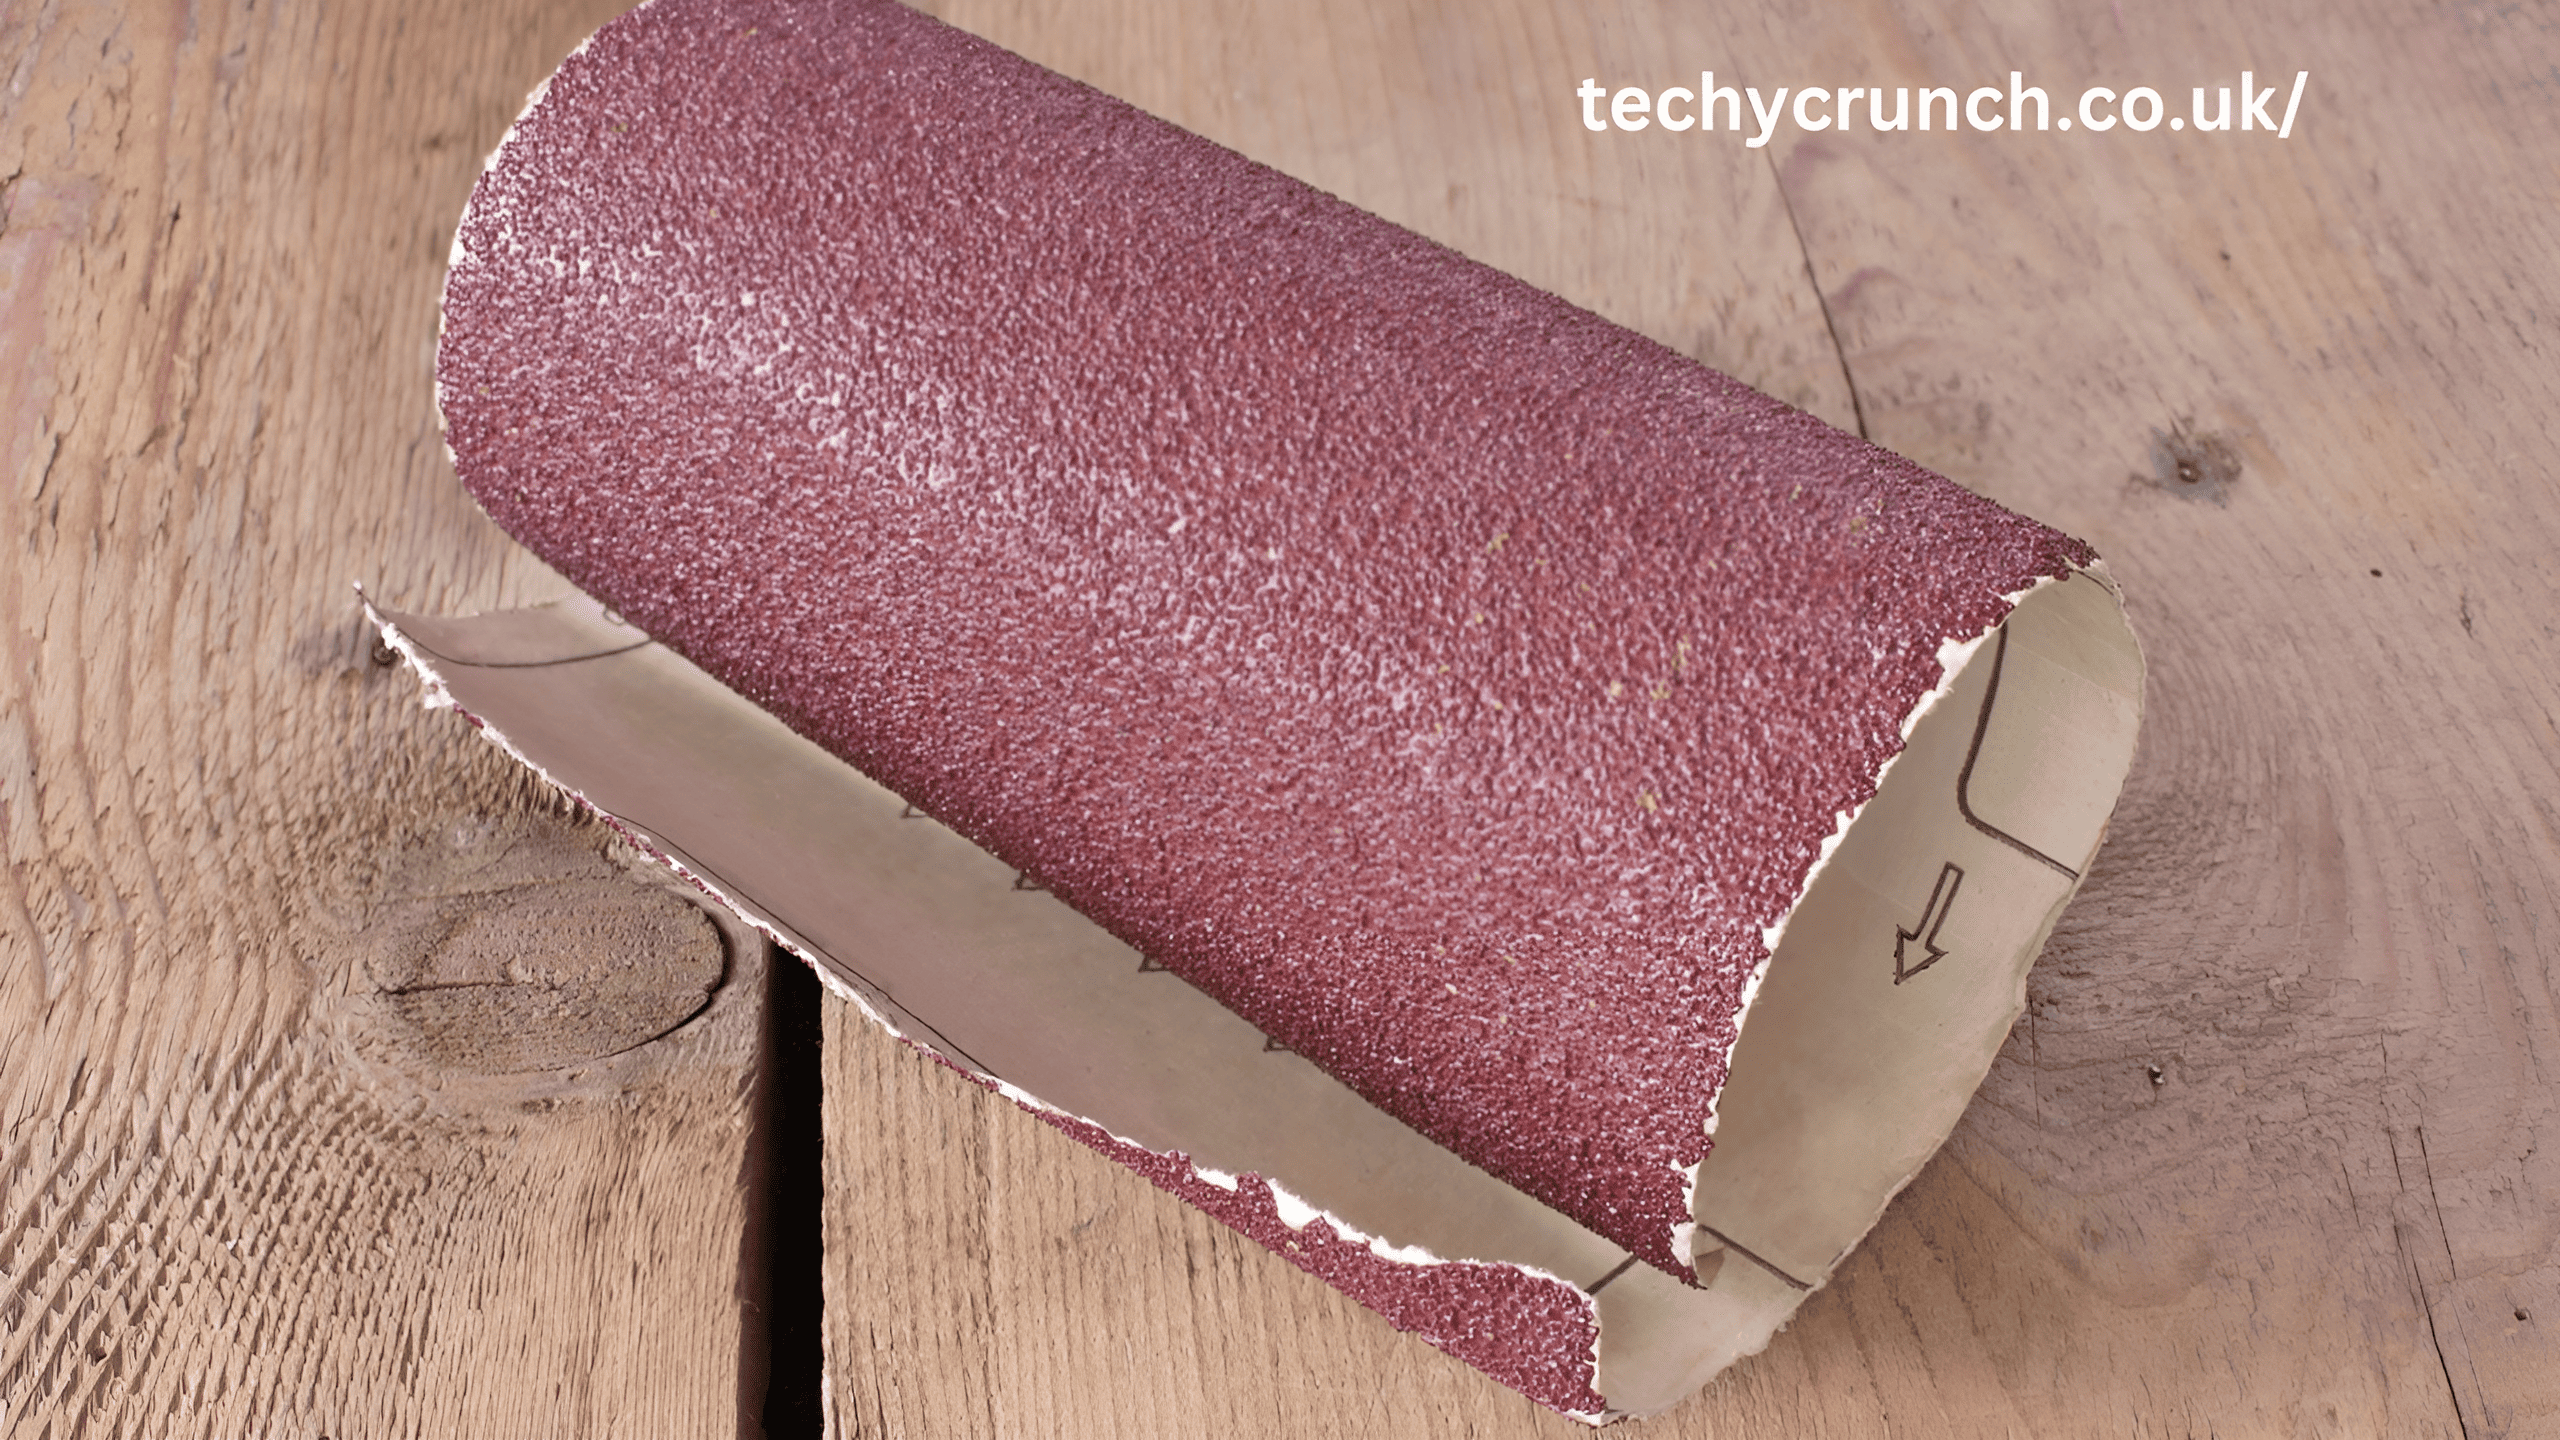
Sandpaper Grits Explained
The smaller the number, what grit sandpaper looks like 1/64 scale asphalt and the larger the number, the finer the sandpaper. Each grit serves a different purpose in model-making, from shaping surfaces to refining textures. To effectively replicate the varying textures of asphalt at a miniature scale, it’s important to understand the different sandpaper grits and how they can be applied.
Coarse Grit (40-60)
Coarse grit sandpapers are rough and abrasive, ideal for large-scale surface preparation and heavy sanding. They are best applied on heavy work instances such as in the course of carving large sections of material of or in surfacing big blocks of material. While these grits are too harsh for asphalt replication at the 1/64 scale, they can be useful in creating rougher textures for gravel roads or severely weathered asphalt.
Medium Grit (80-120)
Medium grit sandpapers (80-120) are perfect for most model-making tasks. At this level, sandpaper provides a balance of smoothness and roughness. The texture achieved with this grit can mimic the irregular, gritty surface of a road that has seen some traffic but isn’t overly worn or cracked. If you’re trying to simulate a typical city road that’s in fair condition, grits in this range are likely your best bet.
For 1/64 scale asphalt, 80-grit sandpaper is ideal for representing older, worn roads where the aggregate stones of the asphalt are slightly exposed, giving the surface a rougher appearance. On the other hand, 120-grit sandpaper can simulate newer asphalt, with a slightly smoother, but still textured, finish. This range is versatile enough to represent a variety of road conditions, from regular streets to highways.
Fine Grit (150-220) what grit sandpaper looks like 1/64 scale asphalt
Smooth or Fine grit sand papers are used for finishing or smoothing of surfaces. They’re great for giving a polished look and for preparing surfaces for painting. While fine grit is typically used for smoothing out minor imperfections, it can also be used in modeling to create the surface of roads that are newer or have been recently paved. At 1/64 scale, 150-220 grit sandpaper can create asphalt that is smooth enough to reflect well-maintained urban roads or highways.
If you are aiming for a smooth asphalt road that has minimal wear, fine grits offer a subtle but effective texture that can capture the essence of newer or pristine asphalt. Keep in mind that even new asphalt has texture, so using a too-fine grit may result in an overly smooth, unrealistic surface.
Extra-Fine Grit (240-400)
These are very fine sandpapers that are mostly used on the surface as polishing tools before a surface can be painted. They aren’t generally useful for replicating asphalt textures because the grit is too smooth and won’t provide the rough, gritty surface needed for roads. However, they may be handy for adding some final touches to other parts of the model, such as for curbs, sidewalks, or smooth areas adjacent to the road.
What Grit Works Best for 1/64 Scale Asphalt?
Replicating what grit sandpaper looks like 1/64 scale asphalt that can mimic the rough, gritty texture of real-world roads. Based on the properties of asphalt, the best grit options for creating this texture are within the 80-120 grit range, depending on the condition of the road you want to simulate. Here’s a closer look at how you can use different grits to achieve the perfect look for your model.
For Older or Worn Asphalt (80 Grit)
If you’re replicating an older, weathered asphalt road that has been subject to heavy use and exposure to the elements, 80-grit sandpaper will give you the coarse texture needed. This grit mimics the roughness of the road, with some exposure of larger aggregates and wear on the surface. This grit is excellent for creating roads with cracks, potholes, and exposed gravel, making it ideal for distressed asphalt roads.
The larger particles of 80-grit sandpaper allow for an irregular surface, which reflects how an old road might appear after years of wear. The gritty, uneven finish adds a lot of character and can serve as the base for adding further details, such as dirt, oil stains, and tire tracks.

For Moderately Used Asphalt (100-120 Grit)
If the asphalt you want to model represents a typical urban street or a moderately used road, what grit sandpaper looks like 1/64 scale asphalt is a good choice. These grits will provide a rough but controlled texture that closely mimics a road that has seen some traffic but isn’t too worn or damaged. At 1/64 scale, this grit allows for enough irregularity to represent the texture of a normal, functioning road while keeping it smooth enough to avoid excessive roughness.
This grit is ideal for capturing roads that are in decent condition, where the surface still has visible texture but doesn’t have major imperfections. It can be used for both city streets and suburban roads, which tend to have a fairly smooth but textured appearance.
For Newer Asphalt (150-220 Grit)
For roads that are relatively new or freshly paved, 150 to 220 grit will give a finer, less coarse finish. These grits create a smoother, less weathered texture while still maintaining some of the roughness typical of asphalt. New asphalt has a smoother appearance but will still show visible texture due to the aggregate materials used in its composition.
When using these finer grits, the road will appear newer, with less wear and fewer visible imperfections. It’s perfect for urban areas where the roads are well-maintained, as well as highways that have not yet gone through significant traffic.
Techniques for Applying what grit sandpaper looks like 1/64 scale asphalt
Once you’ve selected the appropriate grit for your 1/64 scale asphalt, the next step is applying it to your model. Here’s a step-by-step guide on how to use sandpaper to create realistic asphalt:
Prepare Your Surface
Start with a solid base for your road. This could be a plastic sheet, foam board, or even wood. Ensure the surface is smooth and free from any dirt or debris, which could interfere with the sandpaper’s ability to create a uniform texture.
Cut and Shape the Road Area
Cut the shape of your road or street, ensuring that it fits the overall layout of your diorama. Depending on the type of model you’re creating, you can design the road to follow curves or straight lines.
Apply the Sandpaper
Begin with the coarser grit, such as 80 grit, and lightly rub the sandpaper against the surface in small circular motions. This will create an irregular texture that mimics the roughness of a worn road. Focus on creating subtle variations in texture rather than sanding everything evenly.
Once you’re happy with the roughness, you can switch to 100-120 grit for a smoother finish and to refine the texture. For new asphalt roads, finish with 150-220 grit to achieve a finer texture.
Add Details
Use a small tool, such as a toothpick or a modeling knife, to create cracks, potholes, or other details. This step will enhance the realism of the road and give it a lived-in feel. You can also add weathering effects like dirt, tire marks, and oil stains using pigments or paint.
Seal the Surface
Once you’re satisfied with the texture and details, seal the road surface with a clear matte varnish to protect your work and to enhance the final appearance.
Conclusion
In model making, especially when replicating asphalt at a miniature scale like 1/64, selecting the right sandpaper grit is key to achieving the desired texture. For rougher, weathered roads, what grit sandpaper looks like 1/64 scale asphalt will give you the coarse texture needed, while 100-120 grit is ideal for moderately used roads, and 150-220 grit is perfect for new, smooth asphalt. By using these grits in combination with additional weathering and detailing techniques, you can create highly realistic asphalt surfaces that enhance your miniature diorama or model.
Replicating the texture of asphalt in a 1/64 scale model requires careful attention to detail, the right materials, and a good understanding of the scale effect. By using sandpaper with the appropriate grit (such as 80 to 120 grit for rougher, worn asphalt or 150 to 220 grit for smoother, newer roads), you can create realistic textures that mimic the unique characteristics of asphalt. Combining sandpaper with additional modeling techniques like weathering, textured paints, and fine detailing will result in a highly realistic miniature road surface that enhances your overall diorama or model scene.